Новости
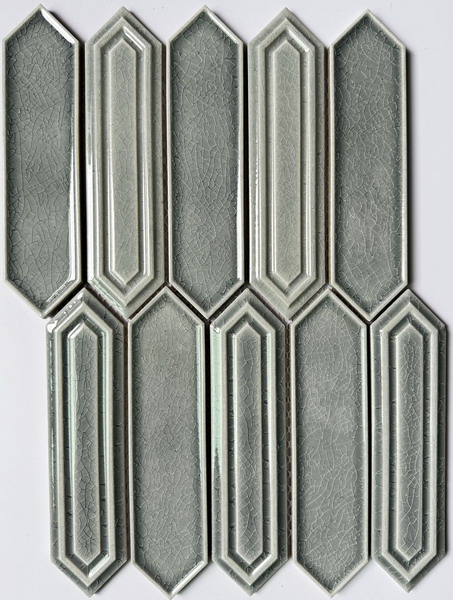
How to Install Mosaic Tile Backsplash
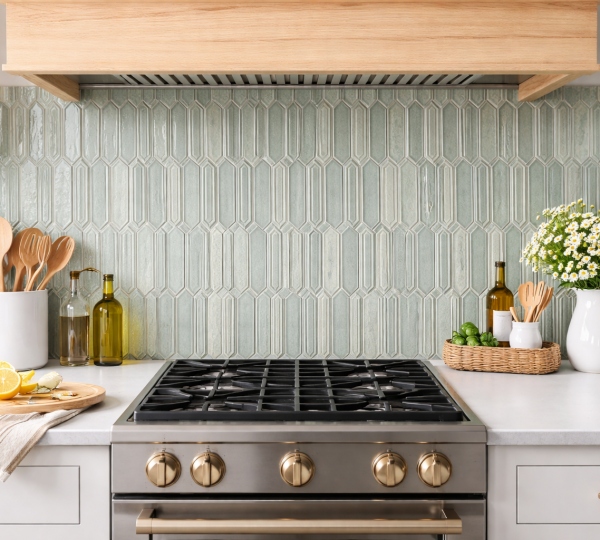
Putting in a backsplash stands out as a smart way to boost the visual charm and practical strength of a kitchen or bathroom. You might want a simple porcelain style or a fancy mother-of-pearl backsplash. In any case, the care you take during the setup decides how long the look will last. Foshan Guanyu Technology Co., Ltd. has more than 25 years of experience in making mosaics and sending them worldwide. The company stresses that top materials need careful steps to pair with them. This guide gives a detailed, hands-on overview for how to install mosaic tile backsplash jobs that hit pro levels.
Preparation and Substrate Assessment
До laying mosaic tile backsplash sheets, get the wall ready with close attention. That wall is the substrate. A usual error in home projects is skipping the wall’s state. And that causes weak sticking or bumpy tiles.
Substrate Requirements
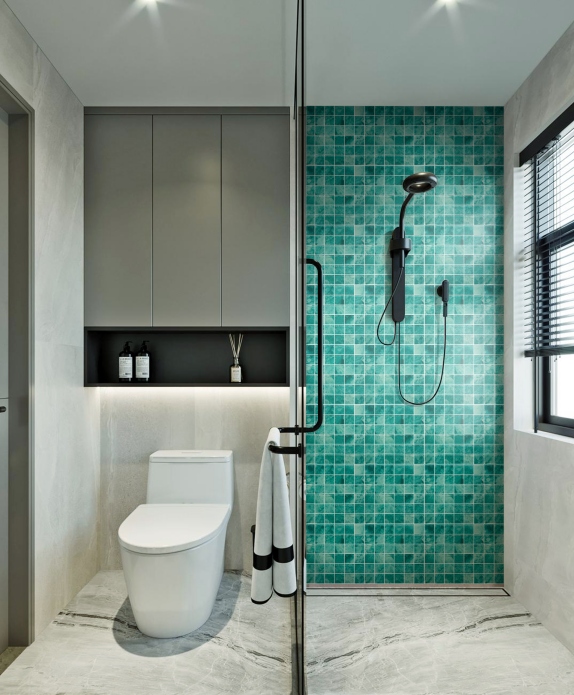
The substrate needs to be even, dry, firm, and fully clear of dust, oil, grease, or any dirt. If you are installing mosaic tile backsplash in bathroom spots, keeping the surface free of dampness matters even more. That stops mold from forming later. For walls that are not smooth, add a thin coat of smoothing mix if you need to.
Tool and Material Selection
A good installation of mosaic tile backsplash job depends on the correct mix of items. Pick a strong tile mortar or mosaic mortar made just for your tile type. For glass or soft mosaics, try items like TILE EASY Mosaic & Glass Tile Mortar (Model A-105). Experts like them because they handle both sticking and filling in one go.
| Item | Purpose | Specification Recommendation |
| Mosaic Mortar | Adhesion and Grouting | Dual-action, water-resistant |
| V-Notched Trowel | Applying adhesive | 3/16 inch for most mosaics |
| Rubber Grout Float | Setting and Grouting | Firm rubber base |
| Tile Spacers | Maintaining gaps | 1/16 or 1/8 inch (if not mesh-mounted) |
Master the Layout and Dry Fit
Learning how to lay mosaic tile backsplash well begins with a dry test fit. Mosaics differ from regular tiles because they arrive on mesh sheets. That makes the task easier. But you still need to line them up right to cover the joins between sheets.
Measuring and Center Point
Figure the full area in square feet. Then, add about 10% extra for trims and slip-ups. Spot the middle of the wall and draw a straight up-and-down line there. This makes sure cut tiles at the ends of the backsplash match on both sides. When you are installing mosaic backsplash close to power points, set the pattern so the point falls in the center of a sheet. Try to avoid putting it on a join if you can.
Handling Specialized Materials
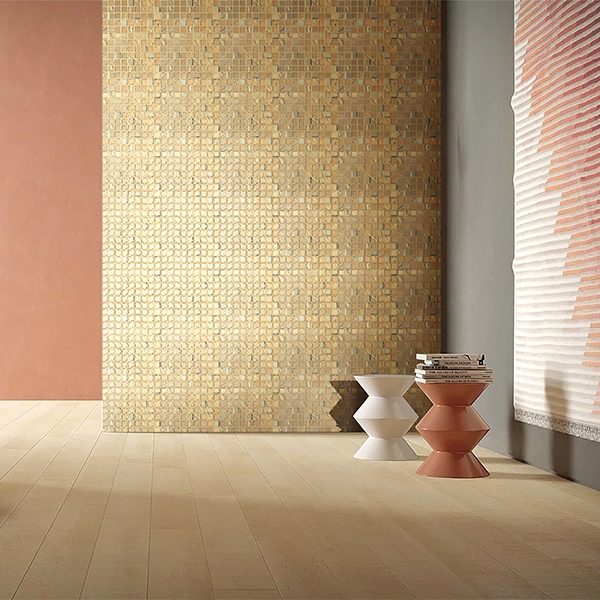
If you pick a mother-of-pearl backsplash, treat the sheets gently. The real shell is slimmer and easier to break than porcelain. Porcelain mosaics hold water at a rate of , so they pack tight and last longer in spots with lots of use.
Applying the Mortar and Setting Tiles
The heart of how to install mosaic backsplash is spreading the grout mortar right.
Thin-set Application
Grab a V-notched trowel and put tile mortar on the wall in small patches. Aim for about 1m² each time. Keep the layer between 1-5 mm thick for every bit. Do not spread too much glue all at once. If you do, it might dry on top and lose its grip before you get to that spot.
Pressing the Sheets
As you install mosaic tile backsplash sheets, push them into the mortar with a rubber grout float. Tap the float softly across the top. That makes sure every tile sinks in at the same level. It stops the look from getting wavy. If glue starts to push out through the spaces, you put on too much. Clean it out right away. That leaves space for the last fill.
Grouting and Final Clean-up
Filling in is the last part of how to install mosaic tile backsplash jobs. It gives the water protection that helps it last.
Mixing and Filling
Let the tiles sit for at least 24 hours first. Then, stir your grout mortar to a thick, smooth mix like peanut butter. For two-purpose items like the A-105, use the same stuff for sticking and filling the spaces. Hold the grout float at a 45-degree slant. Pack the joints full that way.
The Cleaning Process
Give it about 10–20 minutes for the fill to set a bit. The time depends on the room’s warmth. Take a damp sponge, but not one that drips, to wipe off the extra layer. Clean your tools as soon as you finish. That keeps the mortar from hardening on them. In spots from 5°C to 40°C, the mortar will set just right.
Maintenance and Technical Excellence
To keep the mosaic tile backsplash installation looking sharp, do routine care. Porcelain tiles resist marks on their own. But the fill lines might need a seal if you did not pick a special water-proof mosaic mortar. Guanyu Ceramics keeps pushing new ideas here. They make sure products meet ISO and CE rules for world-class quality.
Call to Action: Professional Solutions for Global Projects
For companies looking for a steady supplier in building goods, Guanyu Ceramics gives more than items. We bring a 25-year history of solid work and fresh approaches. You may need tough porcelain mosaics or custom OEM/ODM patterns. Our group can back big projects and bulk orders around the world.
Check out our set of over 5,000 patterns. Gain from our “One-Stop Solution” that covers CAD sketches to setup help. Reach out now to see how our “Quality First” rule can lift your next business or home build.
Часто задаваемые вопросы
How do you install mosaic tile backsplash without the sheets sliding?
To stop sliding, mix your tile mortar to the right thickness. Also, screw in a temp wood strip at the bottom of the backsplash. It holds the tiles’ weight until the glue hardens.
What is the best type of adhesive for glass or mother-of-pearl mosaics?
For see-through or soft stuff like glass or mother-of-pearl backsplash, pick a white, flexible mosaic mortar with polymers. It stops the dark shade of plain gray thin-set from peeking through the tiles. Plus, it gives the bend needed for surfaces that do not soak water.
How do I cut mosaic tile sheets to fit around electrical outlets?
You can slice the mesh back with a sharp knife to take out single tiles. For the tiles, use nippers for tiny changes or a wet saw with a diamond edge for straight cuts on porcelain or glass.
Can I install a new mosaic backsplash over an existing one?
You can do tile-over-tile, but it is not the best for lasting strength. It adds a lot of weight and bulk, which might mess with power covers and edges. Clear the old layer and prepare the substrate to pro ways instead.
How long should I wait before using the kitchen or bathroom after installation?
Wait 24 hours for the tile mortar to set before filling in. Then, give it another 24 to 48 hours after filling before you add heavy water or cleaners to the spot.
наш лучший продукт
Продукт, который мы предлагаем
свяжитесь
Как мы можем Вам помочь!
наши отзывы
Что говорят о нас