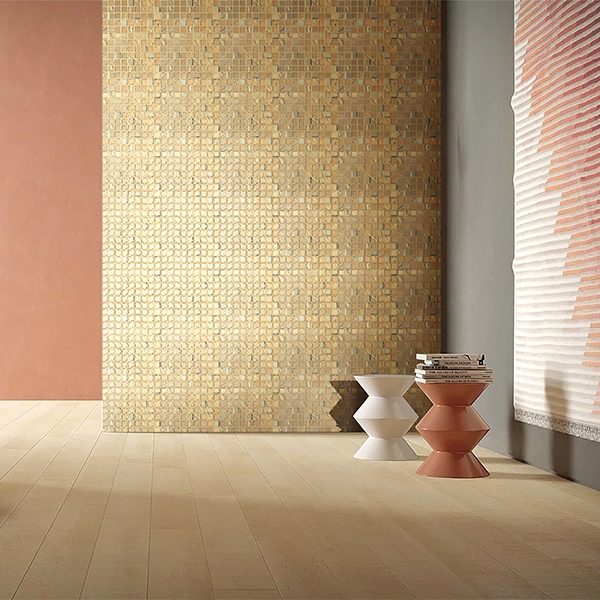
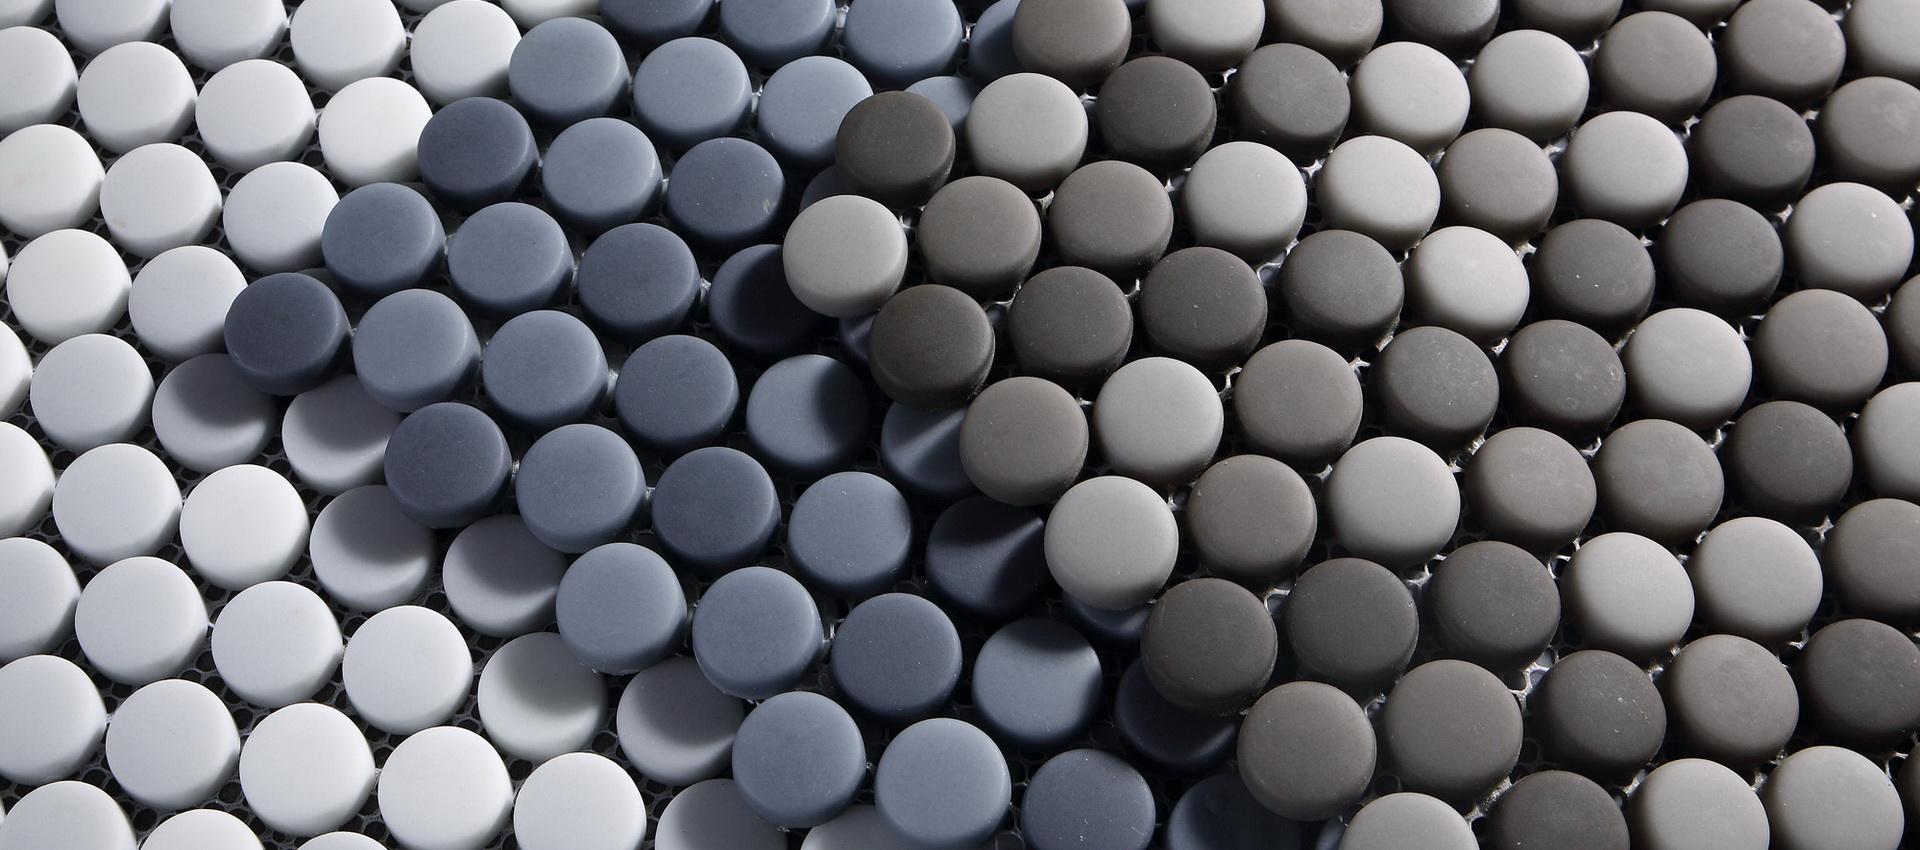


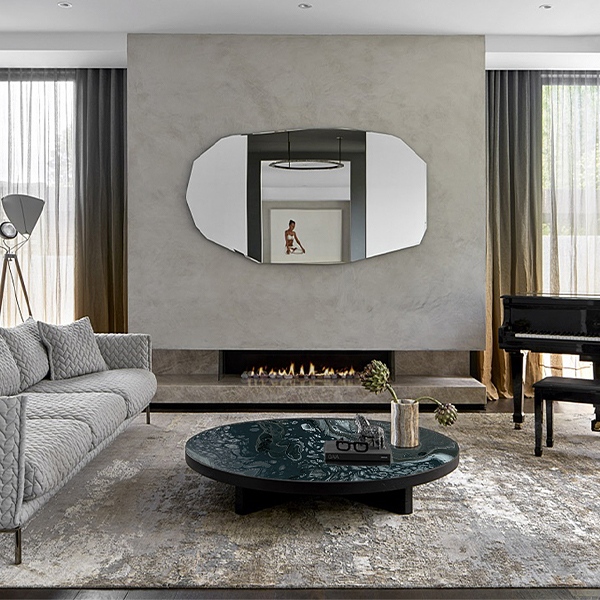
Porcelain Mosaic Tiles incredibly hard, scratch-resistant, and non-porous. Easy to clean with a damp cloth
New Arrival
-

-
 Seamlessly conforms to curved and irregular structures with a minimum bending radius of 12cm, resolving thermal stress deformation in high-rise buildings.
 -
-
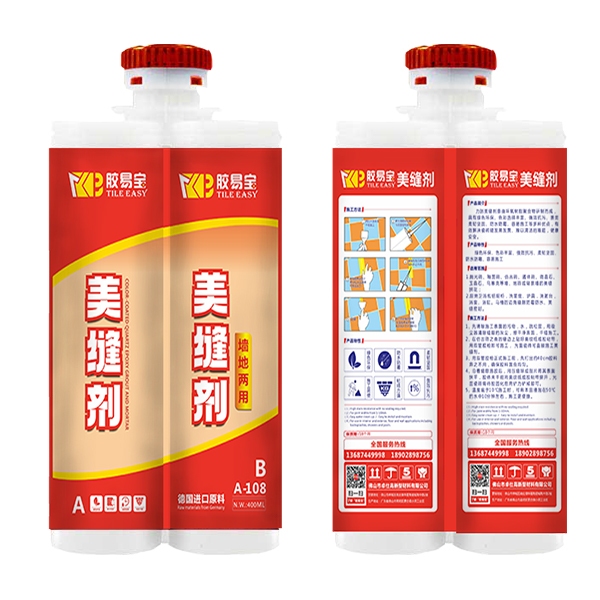
High Quality Mosaic And Glass Tiles Mortar. Strong Adhesion,Easy Application,Water/Stain Resistance


Category

About Us
Foshan Guanyu Technology Co., Ltd.
Foshan Guanyu Technology Co., Ltd. was founded in 2001. We focus mainly on the import and export of tiles, mosaics, and other building and decorative materials. In 2005, the company invested in tile production in Foshan, China’s main production base for building ceramics. Our main export brand is “Guanyu Ceramics”.
“Quality first, trust is the key of cooperation” is our business principle.
Guanyu Ceramics primarily produces polished tiles and glass mosaics. We also offer OEM production of antique-style tiles and glazed wall tiles as secondary product lines. We have established distribution channels worldwide, making the “Guanyu” brand popular globally. Our products are currently sold in dozens of countries and regions including Southeast Asia, the Middle East, Italy, the USA, Brazil, Chile, Peru, Colombia, Mexico, and Russia.
News
-
 What Makes Sintered Stone Tile Suitable for Commercial Projects?Commercial jobs put heavier stress on surface materials compared to typical home interiors. Floors, walls, and counters have to handle constant use. At the same time, they need to keep a steady look. A properly chosen sintered stone tile handles these needs well. It offers low porosity and solid mechanical strength. It also brings good surface resistance and strict production quality. Why Is Sintered Stone Tile Suitable for Commercial Projects? Factories make sintered stone tile using specific mineral raw materials. Workers press and fire these materials under careful watch. High heat and heavy pressure pack the mixture tightly. This creates a solid surface with very few tiny holes inside. This unique building process sets sintered tiles apart from standard decorative options. Density is highly important for business buyers. It directly impacts toughness, water blocking, stain stopping, and shape holding. A packed tile rarely soaks up spills during normal work hours or washing. Furthermore, it delivers steady results across hotels, shops, and eating places. It also works great in offices, display rooms, and public spaces. Many fully sintered tile suppliers focus on advanced production control to maintain stable density, thickness accuracy, and surface performance. When selecting products for large commercial projects, buyers should evaluate supplier experience, manufacturing capability, and quality documents instead of comparing appearance alone. High Density Improves Long-Term Durability A solid core helps sintered stone tile fight off physical wear in business settings. Heavy walking, shifting chairs, and floor scrubbers cause strain. Service carts and constant washing can slowly ruin weak floors. The primary benefit is not that this material never breaks. Instead, its real worth comes from giving reliable results. This happens when you pick the right item for your specific setup. Floor jobs need proper scratch and weight defense. On the other hand, wall covers focus more on total weight and mounting styles. They also care about thickness and cutting exactness. Therefore, buyers must pair the tile type with the actual work zone. For projects requiring special dimensions, patterns, or surface designs, customized fully sintered tile solutions can provide more flexibility. Custom processing options allow commercial buyers to match different architectural concepts while maintaining the original performance advantages of fully sintered materials. Low Porosity Supports Easier Commercial Maintenance Having few tiny holes is a top working perk of sintered stone tile. Drinks and dirt get very few chances to soak into the core. This blocks spots and speeds up daily washing. This feature matters deeply in hotels, food shops, and retail spots. Public areas also face spills from drinks, cooking oils, and harsh soaps. Dirt and dampness are always present. A floor that pulls in grime gets tough to wash. Over the years, it might show ugly color changes. Blocking water does not mean you can skip basic care. Grout lines, glue choices, and fitting skills still change the final outcome. The top finish and washing steps matter too. Shoppers should ask for lab papers for the exact item group. They must check if the numbers apply to the base core or just the top pattern. Sometimes, the data covers the whole finished setup. Trade data often points out almost zero holes and strong spot blocking. It also highlights heat defense, scratch stopping, and fast washing as key traits of sintered stone surfaces. These strong points show why builders pick this material for tough indoor and outdoor tasks. Surface Resistance Reduces Premature Replacement Business finishes face much more touching than home materials. The main threats involve scratching, rubbing, and hard hits. Heat shifts and endless washing add to the daily strain. A proper sintered stone tile cuts down on obvious wear. This works well when its surface rating fits the job perfectly. Bare floors need checks for deep rubbing damage. Meanwhile, coated or painted items might need distinct top-wear tests. Desk and wall uses often demand extra proof for heat and spot defense. They also need checks for acid spills and side bumps. Different fully sintered tile brands may use different raw material combinations, thickness options, and surface technologies. Buyers should compare technical data carefully to ensure the selected product matches the actual commercial environment. The chart below outlines the key details that buying teams need to check. Performance factor Why it matters for business Proof buyers must ask for Water absorption Changes hole count, damp defense, and washing ease Lab test paper and related rule Breaking or bending power Helps judge defense against fitting and daily weights Item-specific tech facts Abrasion resistance Shows fitness for endless walking or machine rubbing Test way and stated group Stain resistance Aids faster care in public and service zones Spot-defense test scores Thickness exactness Alters moving, cutting, glue spread, and lining up Check record or size paper Batch matching Cuts obvious visual shifts across huge setups Passed check sample and batch proof Planned use Stops wall-only items from going onto wrong floor spots Maker’s use document How Does Sintered Stone Compare with Traditional Materials? Sintered stone tile gives much better visual matching than many raw stones. Real marble and granite often hold lines, holes, and cracks. They also show color shifts. These marks build their natural charm. However, they can easily mess up massive business setups. Factories build sintered items under steady making rules. This boosts control over sizes, top looks, and art designs. It also helps with batch sorting. Plus, it might need less regular sealing compared to open-hole natural stone. This depends on the exact item you pick. When placed against normal ceramic wall pieces, sintered tiles usually handle much tougher surface jobs. Still, shoppers must not think that every sintered item acts the same way. Total thickness, material mix, and baking steps can shift greatly. Backing strength, top coats, and planned roles also change among different fully sintered tile brands. A smart choice must rely on strict test facts and job fitness. It should also look at fitting needs and total life costs. Buyers should not judge by the item group alone. Request a Project-Based Sintered Stone Tile Quote Guanyu Ceramics has worked in the building and styling parts trade since 2001. We started our tile making in Foshan during 2005. Our item list covers ceramic and porcelain pieces, along with mosaics. We also supply sintered stone and slabs, soft stone, and linked building goods. Furthermore, we back OEM and ODM needs for sizes, art designs, and colors. We gladly offer job-specific answers. Business price quotes must connect to the real job instead of a basic cost sheet. Please send us your needed sizes, thickness, and top look. We also need your total count, sketches, and target buyer market. You can reach us through the Guanyu Ceramics contact page. In addition, you can check our tiles and slabs range. Do this before asking for test pieces or a special job price. FAQ What is the difference between sintered stone tile and porcelain tile? Makers usually build sintered stone tile for hard building and shaped-surface tasks. On the flip side, porcelain items cover a wide span of basic floor and wall goods. The true split relies on the raw mix, sizes, and thickness. Making steps, lab checks, and final goals also set them apart. Is sintered stone tile suitable for high-traffic floors? It works well when the chosen item holds clear floor-use passes. It needs enough power and proper rubbing defense. Good slip safety is also a must. Shoppers must never guess that every thin sheet or wall board fits heavy business floors. What technical documents should buyers request? Shoppers must ask for clear item details and exact size limits. They should request water-soaking scores and power facts. Rubbing or spot checks are needed where they matter. Use guides, boxing facts, and quality check logs are also highly vital. Can sintered stone tiles be customized for commercial projects? Yes. Special changes can cover sizes, thickness, shades, and art layouts. Digital ink printing, straight cuts, and drill holes are possible. Side shapes and special boxing can also change. Buyers must pass sketches and test pieces before huge factory runs begin. How is a project quotation calculated? Price factors usually cover the exact material details, sizes, and thickness. The top look, total piece count, and cutting needs also change the cost. Boxing, lab checks, and time plans play big roles. Correct sketches and exact count facts help sellers give a much better price.Read More
 -
How Customized Fully Sintered Tile Supports Modern Interior DesignContemporary interior projects demand surfaces that offer both a striking visual identity and enduring performance. Architects, designers, developers, and distributors are shifting away from ordinary finishes. Instead, they seek materials that align with specific design concepts. A customized fully sintered tile grants this desired flexibility. It merges sophisticated manufacturing technology with robust physical strength. Furthermore, it delivers personalized design alternatives for both residential and commercial spaces. At Guanyu Ceramics, we distribute ceramic tiles, intricate mosaics, adaptable flexible stone, and comprehensive sintered stone/slab solutions across international markets. We possess over 25 years of extensive export expertise. Therefore, we thoroughly comprehend that global purchasers demand materials that satisfy rigorous design specifications while simultaneously fulfilling overarching project expectations. How Does Fully Sintered Tile Technology Support Custom Surface Design? The distinct performance superiority of customized fully sintered tile originates from its internal manufacturing framework. During the production phase, manufacturers carefully select premium mineral components. They compress these elements under immense pressure. Subsequently, they fire the compacted mixture at exceptionally high temperatures. The ultimate outcome is a highly compact surface that boasts formidable mechanical stability. This remarkably dense composition permits manufacturers to engineer highly sophisticated decorative effects. Crucially, they achieve this while steadfastly preserving the material’s inherent durability. Designers can freely choose diverse patterns, vibrant colors, nuanced textures, and varied finishes. They can do so without ever compromising the material’s practical performance capabilities. For commercial purchasers, the specific technical attributes of fully sintered materials directly impact the overall value of a project. Performance Feature Fully Sintered Tile Performance Project Benefits Water absorption ≤0.5% Enhanced moisture resistance suitable for kitchens, bathrooms, and busy commercial zones Surface strength High-density structural composition Highly appropriate for demanding, high-traffic environments Stain resistance Surface with exceptionally low porosity Facilitates simpler cleaning and significantly reduces ongoing maintenance expenses Heat resistance Remains highly stable when exposed to elevated temperatures Ideal for specific areas subjected to consistent heat exposure Design flexibility Fully accommodates intricate digital patterns and comprehensive surface customization Enables the creation of genuinely unique and captivating interior concepts A customized fully sintered tile solution likewise empowers designers to attain harmonious visual effects across multiple applications. Expansive large-format slabs can effectively minimize visible grout lines. This creates an uninterrupted, stone-like aesthetic. Such visual continuity proves particularly beneficial for sleek, modern minimalist interiors. What Customization Options Can Fully Sintered Tiles Provide? Fully sintered customized surfaces bestow designers with enhanced authority over the ultimate visual presentation of a project. Rather than merely choosing from restricted standard catalogs, buyers can actively engineer materials. They base these creations on precise design concepts, specific regional inclinations, or strict brand guidelines. Typical customization possibilities generally encompass: Customization Type Application Value Custom colors Accurately aligns with overarching project themes, core brand identity, and selected interior color palettes Digital printing patterns Generates authentic marble, natural stone, highly artistic, or organic nature-inspired surface aesthetics Surface finishes Delivers versatile matte, highly polished, richly textured, or authentic natural visual effects Large-format sizes Effectively decreases visible joints and substantially boosts overall visual continuity Integrated surface solutions Seamlessly links expansive floors, prominent walls, custom furniture, and various built-in architectural elements Guanyu Ceramics actively facilitates customized digital printing tailored for sintered stone and slabs. Installers can seamlessly apply these versatile products to broad floors, striking feature walls, and comprehensive integrated cabinetry projects. For instance, our specialized UV-printed sintered stone/slabs effectively accommodate highly customized patterns. Concurrently, they preserve a remarkably thin 6mm structural profile. They also deliver robust impact resistance, dependable fire resistance, and exceptional scratch-resistant capabilities. This potent combination assists designers in crafting highly artistic surfaces. Importantly, they achieve this without unnecessarily escalating the overall complexity of the project. How Do Customized Fully Sintered Tiles Improve Different Interior Applications? A customized fully sintered tile proves highly appropriate for diverse project settings. It successfully merges significant decorative appeal with highly practical performance attributes. Residential projects gain immense value from highly personalized surfaces. These surfaces establish cohesive and harmonious interior styles. Opulent villas, upscale apartments, and exclusive private residences frequently demand materials that visually unite disparate spaces. Customized flooring, striking feature walls, and durable kitchen surfaces can utilize a unified design language. This approach successfully generates a comprehensive and unified interior concept. Hospitality ventures necessitate materials capable of commanding attention while simultaneously enduring relentless, frequent usage. Bustling hotels, busy restaurants, and expansive resorts require surfaces that retain their pristine appearance. They must achieve this despite rigorous, continuous cleaning and consistently high visitor footfall. A customized fully sintered tile actively aids designers in crafting memorable, signature spaces. These include welcoming reception areas, elegant guest rooms, stylish restaurants, and relaxing lounges. Commercial undertakings similarly demand robust and reliable material performance. Retail boutiques, corporate offices, and expansive showrooms frequently employ large-format surfaces. They utilize them to establish pristine, highly modern environments. Minimized grout lines, straightforward maintenance procedures, and steadfast color retention are crucial. They assist businesses in preserving a polished, professional atmosphere over extended periods. How Should Buyers Choose Reliable Fully Sintered Tile Suppliers? Choosing appropriate fully sintered tile suppliers entails much more than simply contrasting product prices. International purchasers must carefully assess overall production capacity, proven customization expertise, rigorous quality management protocols, and comprehensive export assistance. Crucial evaluation factors include: Buyer Evaluation Factor Why It Matters Manufacturing experience Guarantees consistent production output and profound technical proficiency Customization capability Actively accommodates highly unique and specific project demands Quality management system Significantly mitigates potential risks stemming from inconsistent production batches International export experience Effectively assists in navigating and managing diverse, complex market regulations Technical support Supplies vital assistance throughout the critical selection and installation phases Guanyu Ceramics delivers comprehensive surface solutions for a global network of distributors, contractors, architects, and project developers. Our expansive product portfolio encompasses ceramic tiles, intricate mosaics, versatile flexible stone, and robust sintered stone/slabs. This extensive range permits buyers to seamlessly coordinate varied interior applications through a single, reliable supply partner. We actively accommodate specific OEM and ODM requests. These include highly customized sizes, intricate patterns, and precise color-matching services. For buyers who are creating novel collections or executing massive-scale projects, this streamlined approach is invaluable. It significantly minimizes sourcing complications and substantially enhances overall design uniformity. Get Customized Fully Sintered Tile Support for Your Next Project Please share your detailed project blueprints, precise dimensional requirements, specific surface preferences, or exact product specifications with our dedicated team. We are fully prepared to supply highly suitable material suggestions, diverse customization alternatives, and comprehensive quotation assistance tailored precisely to your unique application necessities. Kindly visit the Guanyu Ceramics contact page to formally request dedicated assistance for your upcoming customized surface endeavor.Read More
-
How Hotels Choose Non-Slip Bathroom Tiles for Guest SafetyHotel bathrooms must look clean, feel comfortable, and reduce guest safety risk. A guest may enter the bathroom barefoot, tired, or unfamiliar with the room layout. A wet floor complaint can affect reviews, insurance discussions, and maintenance cost. Tile selection is part of hotel operating control. Hotel tile decisions are operational decisions Hotel buyers often balance design, cleaning speed, durability, price, and guest safety. A beautiful tile that requires difficult maintenance may not be suitable for housekeeping. A rough tile that lowers slip risk but traps dirt may create hygiene complaints. The best hotel bathroom tile supports both safety and daily operation. Guanyu Ceramics supplies mosaics, matte tiles, polished porcelain, wall tiles, slabs, grout, mortar, and related building materials. For hotel projects, we help buyers separate wall, dry floor, shower floor, and public wet area specifications. Hotel bathroom tile matrix Bathroom Area Product Direction Main Risk Controlled Shower floor Porcelain mosaic or structured matte tile Guest slipping Bathroom dry floor Matte porcelain bathroom tile Water tracked from shower Shower wall Ceramic, porcelain, or mosaic Design and cleaning Vanity wall Mosaic or wall tile Brand style Public restroom floor Matte porcelain floor tile High traffic and cleaning Spa shower zone Porcelain mosaic Constant moisture Design without increasing risk Non-slip bathroom tile does not need to look industrial. Matte porcelain, porcelain mosaic, marble-look mosaic, and neutral textured surfaces can match hotel design while supporting safer use. Guanyu Ceramics offers custom and OEM/ODM support, which can help projects maintain design consistency across room types. For modern hospitality projects, mosaic shower floor tiles non slip designs can provide a balance between traction, drainage, and visual appeal. Non slip mosaic tiles for wet room applications are also considered when hotels need a safer surface with flexible layout options. For hotel bathrooms, different tile formats can serve different safety and design needs. Porcelain mosaic is often selected for shower floors because small pieces and more grout joints help match slope and drainage. Matte porcelain bathroom tiles are often used for dry floors because they balance walking comfort and easier cleaning. Wall tiles and polished porcelain can still support the visual design, but they should not be used as a direct replacement for wet floor materials. When selecting the best porcelain shower floor tiles non slip options, buyers should evaluate surface texture, water exposure, and maintenance requirements. Non slip porcelain tile flooring is commonly considered for areas that require easier cleaning with improved walking stability. Tile Option Common Hotel Use Surface Direction Selection Note Porcelain mosaic Shower floor, spa shower zone Matte or lightly textured Porcelain mosaic can reach water absorption ≤0.5% Matte porcelain tile Bathroom dry floor, public restroom floor Matte Suitable for areas with water tracked from shower Wall tile Shower wall, vanity wall Matte, glossy, or decorative Mainly supports design and cleaning Polished porcelain Wall or dry decorative area Polished Not preferred for wet shower floors Tile mortar and grout Mosaic and tile installation Coordinated with tile use Helps improve bonding, joint filling, and cleaning performance Procurement and installation controls Control Hotel Benefit Sample approval board Keeps designer, owner, and contractor aligned Batch record Supports future maintenance and claims Spare stock Reduces downtime for room repairs Coordinated grout Improves cleaning and joint performance Export packing review Reduces breakage and project delay Room-by-room specification Prevents wall tile from being used on floors For non-slip bathroom tiles, procurement control should begin before the order is placed. If the same visual style is used across many rooms, the purchasing team still needs to confirm which item is for the shower floor, which item is for the dry bathroom floor, and which item is for the wall. This avoids the common site problem where similar-looking tiles are mixed during installation. Mock-up rooms reduce project risk Before a hotel installs hundreds of bathrooms, a mock-up room should confirm surface feel, color, grout, slope, lighting, cleaning, and guest comfort. The mock-up gives the owner and contractor a real surface to approve. It also helps the purchasing team confirm the final quantity and spare stock before container shipment. These evaluations are especially important for hotels serving older guests, where non slip bathroom tiles for elderly users and non slip shower tiles for elderly guests can support a more comfortable and secure bathroom experience. Mock-Up Check Why It Matters Wet barefoot feel Confirms guest safety perception Drain performance Shows whether water clears quickly Housekeeping review Confirms cleaning time and residue control Lighting and color Prevents design approval disputes Spare stock estimate Reduces future room downtime For hotel groups, this process is often faster than solving complaints after opening. It also gives the supplier clearer information for final packing and shipment. What hotel purchasing teams should control Hotel purchasing teams should keep one approved specification for each bathroom zone. The shower floor, dry floor, wall, vanity wall, and public restroom floor should not be merged into one product line unless the use condition is truly the same. The approved schedule should include color, size, finish, grout, spare stock, and packing. When the project moves from mock-up to mass installation, this document helps prevent site substitutions that may look similar but perform differently. Guanyu Ceramics can review room schedules and suggest product groups that keep design consistency while separating wet and dry risk. This is especially useful when the hotel needs both guest bathroom products and public area materials in one shipment plan. Guanyu Ceramics support for hotel projects Our company has more than 20 years of manufacturing and export experience in ceramic and porcelain tiles, mosaics, and related building materials. We can support one-stop material discussions for hotel buyers who need tiles, mosaics, grout, mortar, flexible stone, slabs, and other building materials. For hotel bathroom projects, our role is not only to supply products. We also help buyers separate shower floors, dry floors, wall areas, and public restroom floors so that the selected materials match real-use conditions. This is important for hotel groups, contractors, and distributors who want consistent design while reducing wet floor complaints. To request a hotel bathroom tile quotation, send room schedules, drawings, or sample targets through the Guanyu Ceramics contact page. We can help prepare options for shower floors, dry floors, and wall areas. FAQ What tile is best for hotel shower floors? Porcelain mosaic is often a strong option for compact hotel showers because it supports slope, drainage, and traction. Matte porcelain may work with linear drains. For designers exploring non slip shower floor ideas, porcelain mosaic layouts, matte finishes, and coordinated grout selections can create practical solutions without reducing the overall bathroom style. Can hotel bathrooms use polished porcelain? Polished porcelain may be suitable for walls or dry decorative areas, but it is usually not preferred for wet shower floors. Do you support hotel project samples? Yes. Samples can be supplied for design approval, surface review, and mock-up room discussion. How can hotels reduce future repair delays? Keep spare stock, record batch information, choose suitable grout, and approve installation details before mass room installation. Can Guanyu Ceramics quote multiple hotel materials together? Yes. We can discuss tiles, mosaics, grout, mortar, slabs, flexible stone, and other building materials in one export supply plan.Read More
-
Kitchen Floor Tiles Non Slip: Managing Oil, Water, and Cleaning RiskKitchens have a distinct slip resistance pattern compared to bathrooms. Water is just one element in a range of contaminants. Grease, detergent, food spills, and frequent cleaning activities make the surface behave differently during regular usage. For business-to-business consumers, choosing the right non slip tiles to be used in the kitchen floor involves striking a balance between the performance and characteristics of the tile. Why Kitchens Are High-Risk Floors In restaurants, hotel kitchens, apartment kitchens, staff kitchens, and food preparation areas, wet and oily contamination presents a dual challenge. A surface that behaves well when in contact with clean water will behave differently when in contact with oils. Cleaning staff may also resort to alkaline detergents, hot water, and mechanical scrubbing of the surface. This is unlike non slip floor tiles used for bathroom application where contamination is mainly water. Guanyu Ceramics recommends matte or structured porcelain for kitchen floors, with grout and adhesive selected according to traffic and cleaning intensity. Kitchen Tile Performance Table Requirement Recommended choice Risk reduced Slip control Matte or structured porcelain Staff injury and downtime Stain resistance Dense porcelain surface Food and oil marks Chemical tolerance Suitable grout and cleaning plan Surface damage and joint failure Impact resistance Proper tile thickness and installation Cracking from dropped tools Easy replacement Keep spare stock Long repair downtime Export packing Strong cartons and pallet control Breakage during shipment Commercial Kitchen vs Residential Kitchen A residential kitchen usually has lower traffic and lighter cleaning. A commercial kitchen needs stronger risk control. Heavy shoes, grease, fast movement, and frequent cleaning create tougher conditions. For restaurants and hotels, floor failure can affect health inspections, staff safety, and business operation. Product Direction by Kitchen Type Kitchen type Suggested tile Notes Hotel back kitchen Structured porcelain Prioritize grip and cleaning Restaurant kitchen Matte porcelain with suitable grout Oil and detergent exposure Apartment kitchen Matte porcelain Balance design and cost Staff pantry Matte ceramic or porcelain Medium traffic Food prep area Dense porcelain Stain and water resistance The Grout Decision Is Important Kitchen floors fail when joints absorb dirt or break under cleaning. Buyers should choose grout that matches the traffic and cleaning chemicals. Wide, weak, or poorly cured joints can become dirt traps. Guanyu Ceramics can support tile selection together with compatible grout, mortar, and tile adhesive grout in china supply solutions, helping buyers reduce mismatch risks between flooring materials and installation products. B2B Procurement Control For distributors, kitchen floor tiles should be labeled clearly by application. For contractors, product approval should include surface finish, size, packing, grout, adhesive, and spare stock. For developers, the specification should separate kitchen floors from dry living areas even if the color design is similar. Practical Quotation Inputs To quote a kitchen floor tile order, we need area size, use type, quantity, preferred size, finish, delivery port, and whether grout or mortar should be included. If the project is a commercial kitchen, note the expected cleaning method and traffic level. Guanyu Ceramics can provide tiles, mosaics, grout, mortar, and related building materials for mixed-container export. For a kitchen floor quotation, contact us through the Guanyu Ceramics website. Cleaning and Maintenance Should Be Part of Selection A well-selected porcelain floor tile can provide stable performance in kitchens, but its long-term effectiveness may decline if detergent residue, grease, or food particles accumulate on the surface. Buyers should ask how the floor will be cleaned after opening. Restaurants may use stronger detergents and frequent wet cleaning. Apartments may use lighter household cleaning. Hotel back kitchens may need daily cleaning with higher traffic. The tile and grout should match the cleaning method. Cleaning condition Tile selection note Grout note Light residential cleaning Matte porcelain is usually suitable Standard wet-area grout may be enough Restaurant daily cleaning Structured porcelain is preferred Choose stronger stain resistance Hotel back kitchen High-durability porcelain Confirm chemical exposure Food prep zone Dense, cleanable surface Avoid joints that trap residue How Importers Can Sell Kitchen Floor Tiles Better Kitchen floor customers often compare color first, but sales teams should guide them toward use conditions. Ask whether the floor is residential or commercial, whether oil is present, how often it is cleaned, and whether staff safety is part of the requirement. This helps the importer recommend suitable non slip tiles for kitchen floor projects instead of selling a generic floor tile, reducing after-sales complaints caused by unsuitable product selection. It also reduces after-sales complaints caused by using a decorative tile in a working kitchen. Data Points for Kitchen Floor Quotations Kitchen projects often need clearer information than standard bathroom orders. The supplier should know whether the floor is used by staff, residents, hotel guests, or food service workers. It also helps to know whether the buyer needs matching wall tiles, skirting tiles, grout, or mortar. When these details are included in the first inquiry, Guanyu Ceramics can prepare a more useful quotation and reduce back-and-forth communication. Quotation data Why it matters Kitchen type Separates residential from commercial risk Cleaning frequency Guides surface and grout choice Tile size preference Affects installation speed and waste Matching wall need Supports complete room supply Shipment schedule Helps plan production and packing Guanyu Ceramics caters to the needs of international clients with the supply of kitchen floor tiles, porcelain tiles, mosaics, grout, mortar, and other building materials. Whatever your project may be whether restaurants, hotels, residences, or other buildings, we will help you decide on the choice of tiles, application process, packaging requirements, and transportation. Please share all the relevant information about your project including tile sizes, quantities, applications, and ports of destination for a proper quotation. FAQ What tile finish is best for kitchen floors? Matte or structured porcelain is usually better than polished porcelain because kitchens may have water, oil, and cleaning residue on the floor. Are bathroom non-slip tiles suitable for Kitchens? Not always. Non slip floor tiles bathroom applications are mainly designed for wet areas with water exposure, while kitchen floors may face oil, grease, and stronger cleaning chemicals. Therefore, grout, surface finish, and maintenance methods must be reviewed before selection. Can Guanyu Ceramics Supply Grout With Kitchen Floor Tiles? Yes. We can supply grout, mortar, mosaics, matte tiles, polished porcelain, and related building materials for export orders. How Can Restaurants Reduce Floor Replacement Risk? Choose dense porcelain, confirm surface suitability, use compatible grout and adhesive, order spare stock, and keep maintenance instructions clear. Can I Request a Quotation for a Mixed Container? Yes. Send tile, grout, mortar, and other product requirements through our contact page for mixed-container quotation support.Read More